Milky Way
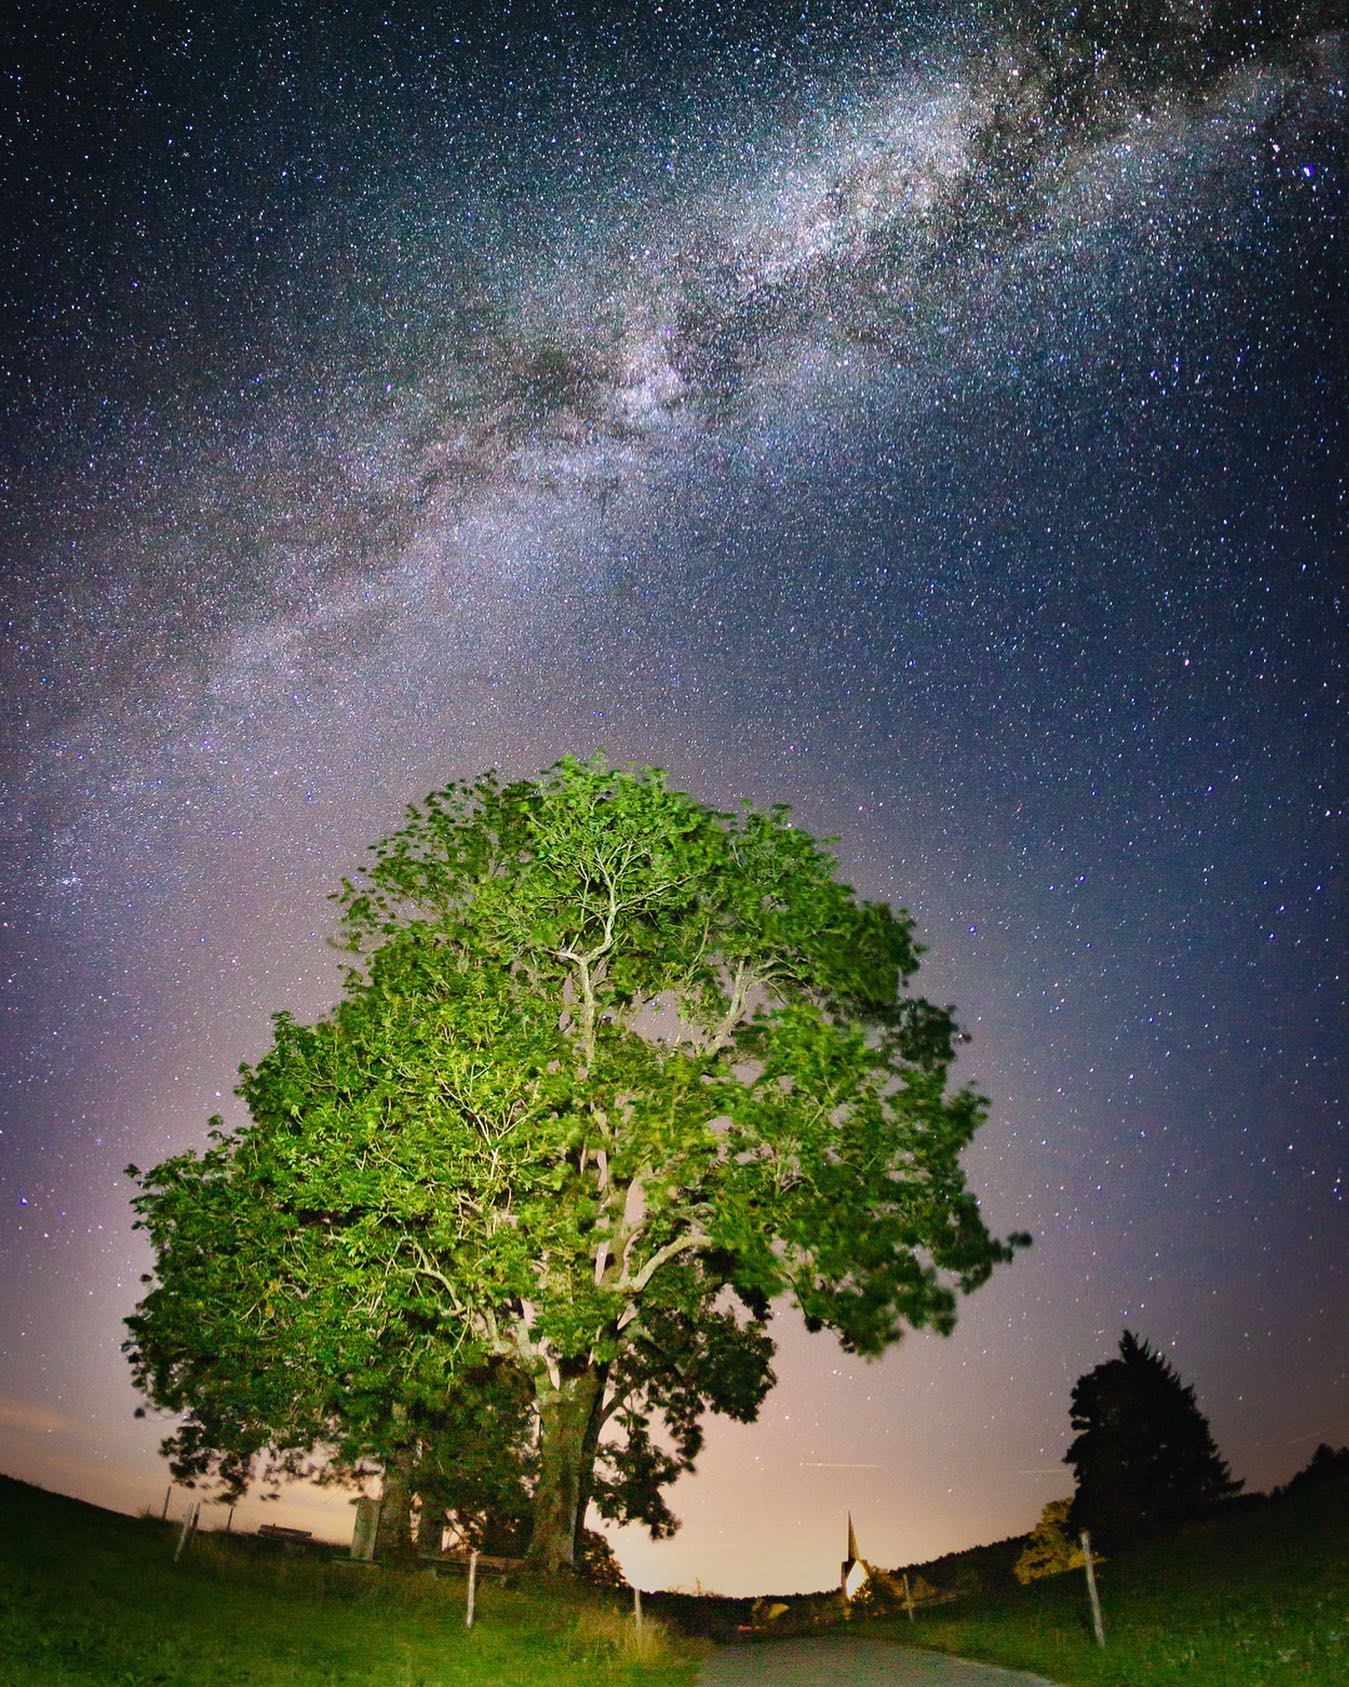
Just stumbled over this older image of the Milky Way above rural #bavaria. Can’t wait for some more #stargazing next summer.
Photographing the Milky Way requires careful planning and ideal conditions to capture the impressive structure in the night sky. Choosing the right location plays a key role: light pollution should be avoided as far as possible, as it greatly impairs the visibility of the Milky Way. Remote areas away from the city lights are therefore ideal, such as rural regions or higher mountain locations. Timing is also crucial, as the Milky Way is most visible in the summer months and during new moon phases. Various apps such as ‘PhotoPills’ or ‘Stellarium’ help to determine the exact position and the best time to take the picture in advance.
The technical realisation requires a camera with the ability to take long exposures and a fast lens. A wide-angle lens with a focal length between 14 and 24 mm is ideal, as it captures a large section of the sky and thus emphasises the size of the Milky Way.
Recommended camera settings include an aperture of at least f2.8 and an exposure time between 15 and 30 seconds, while ISO values between 1600 and 3200 often provide a good balance between brightness and image noise. It is advisable to place the camera on a stable tripod and set the focus manually to infinity to ensure a sharp image of the stars.
Contrast and details of the Milky Way can be specifically emphasised in post-processing, for example with programmes such as Adobe Lightroom or Photoshop. Here you can adjust contrasts, increase luminance and reduce image noise in darker areas. The use of clarity and detail adjustments brings out the fine structures of the Milky Way particularly well and thus creates an impressive representation of the night sky. With these preparations and a little post-processing, you can create fascinating photographs that capture the vastness and depth of the universe.


